Currently, we are using only the Cadence NCVerilog simulator. Because complex issues may arise with the simulator and waveform viewer tools, I strongly recommend using Cadence rather than another verilog simulator such as Modelsim or Vivado--if you do, you will be on your own if you encounter tool-related bugs.
If you experience problems starting the tools in our environment, email the course TA or me (Bevan Baas) or ECE IT support.
tbench.vfv, and
Source verilog file(s)
$recordfile("DumpFileName");
$recordvars(TopLevelModuleName);
Your simulation signal traces will be stored in
DumpFileName.dsn and DumpFileName.trn
Running the simulator
make runYou can add more source files into the *.vf file. Your output should look like the following. The first line is the command run by Makefile.
cobra_61> make run
ncverilog +access+r -l tbench.log -f tbench.vf
ncverilog(64): 15.20-s031: (c) Copyright 1995-2017 Cadence Design Systems, Inc.
file: tbench.vt
        module worklib.tbench:vt
                errors: 0, warnings: 0
                Caching library 'worklib' ....... Done
        Elaborating the design hierarchy:
        Building instance overlay tables: .................... Done
        Generating native compiled code:
                worklib.tbench:vt <0x171601b8>
                        streams:  32, words: 38678
        Building instance specific data structures.
        Loading native compiled code:     .................... Done
        Design hierarchy summary:
                                  Instances  Unique
                Modules:                  1       1
                Registers:               22      22
                Scalar wires:             3       -
                Vectored wires:          13       -
                Always blocks:            5       5
                Initial blocks:           1       1
                Cont. assignments:       11      16
                Simulation timescale:  10ps
        Writing initial simulation snapshot: worklib.tbench:vt
Loading snapshot worklib.tbench:vt .................... Done
ncsim> source /apps/Cadence/INCISIVE152/tools/inca/files/ncsimrc
ncsim> run
Initialzing to 0
Simulation complete via $finish(1) at time 1300 NS + 0
./tbench.vt:180    $finish;             // ends simulation
ncsim> exit
cobra_62>
Starting the waveform viewer
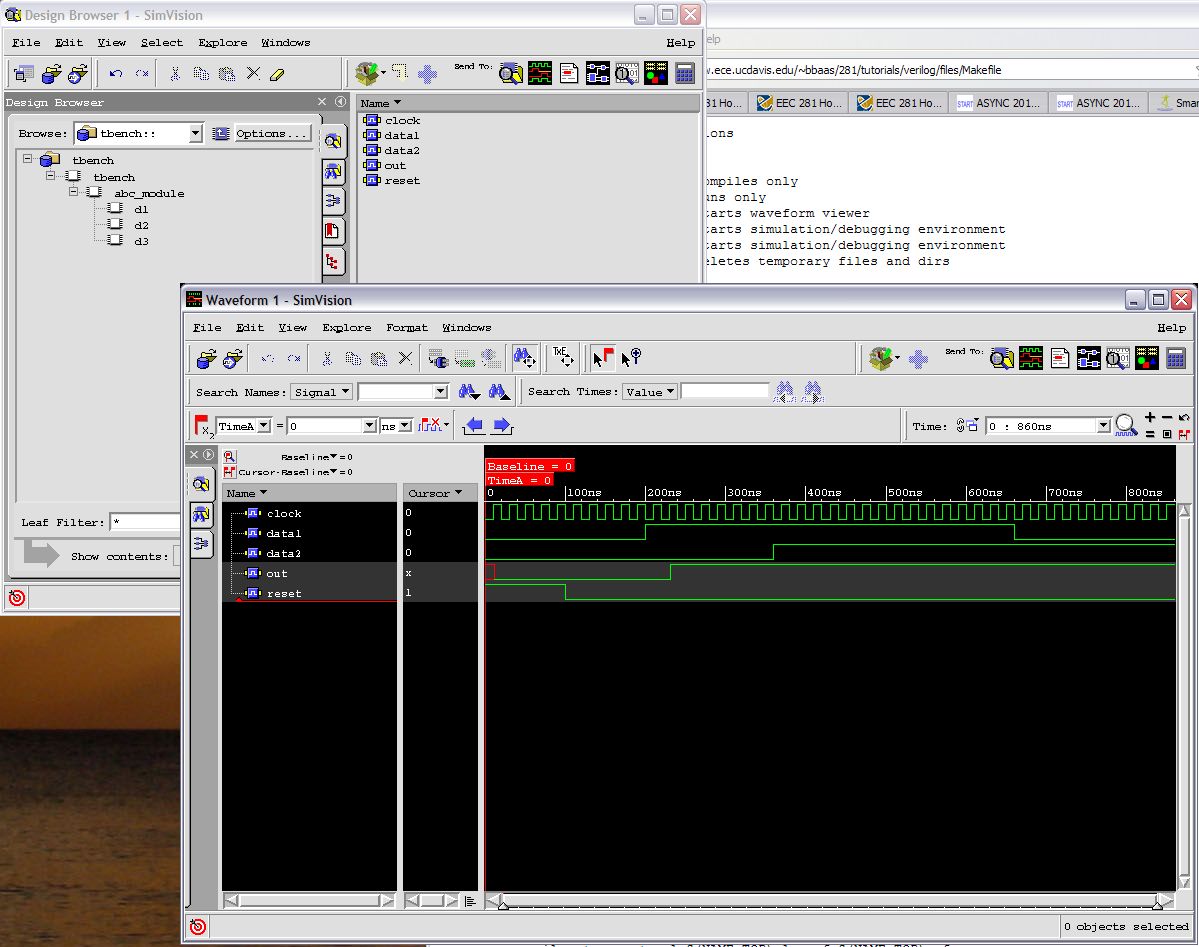
make viewerthen select "File" → "Open Database..." → choose your *.trn file → click "Open & Dismiss". Your design should now show up in the "Scope Tree" section of the window. Select signals you would like to view by left clicking and then right click and select "Send to waveform viewer" to view signals in a new Waveform window.
64-bit systems:
acroread /net/pizza/tools/cadence/IUS81/doc/ncvlog/ncvlog.pdf &
32-bit systems:
acroread /net/pizza/tools/cadence/IUS62/doc/ncvlog/ncvlog.pdf &
A shorter description of various ncverilog command line options can be found by typing
ncverilog -h | less -Mq
Installing Icarus Verilog and GTKWave for MacOS X
1. Apple's XCode: This can be found on the OS X install CD/DVD or downloaded through the Apple Developer Connection (http://developer.apple.com/). This will provide you with the gcc 3.3 compiler needed to compile the applications from the source code. The X11 SDK must also be installed which is an optional component during install.
2. Apple's X11: This provides an X11 interface for the GTKWave application which can be found on the install CD/DVD or downloaded (http://www.apple.com/macosx/features/x11/).
3. Fink: This provides a bridge between the Unix world and OS X and can be downloaded at http://fink.sourceforge.net/ (10.3 required). Look at the documentation on the website for installing FinkCommander and switching to the unstable tree. In the unstable tree you will find the "iverilog" and "gtkwave" packages. Due to dependencies it might take several hours to build all the required packages.
4. Download the Makefile.icarus from the website, name it "Makefile" and place it in a directory with the sample test bench code. With luck "make compile", "make run", and "make viewer" will work. Remeber to start X11 before running make viewer.
1. Cygwin: An enviornment, complete with the "make" utility, is required to use and build GTKWave. To do this obtain setup.exe from http://www.cygwin.com/. In addition to the default packages install: Devel => gcc, gtk+-devel, libxml2-devel ; X11 -> xorg-x11-base, xwinwm.
2. Go to the Icarus Verilog website and download the Windows setup package from the FTP. Install the program into C:\IVerilog or some other path without spaces. Add this location to your system PATH variable using the Windows "System" control panel applet.
3. Download the GTKWave source code from the GTKWave website and move the file into C:\cygwin\home\(USERNAME) and extract the archive.
4. Start a cygwin shell instance which should put you in your home directory. Build the application with "./configure --enable-builtin-readers="vcd"", then make, then make install. If you wish to use LXT files or other input formats you might need to apply the patch below using "patch -p1 < (PATCH_FILE)" in the extracted directory.
5. Download the Makefile.icarus from the website, name it "Makefile" and place it in a directory within your home folder with the sample test bench code. With luck "make compile", "make run", and "make viewer" will work. Before using make viewer, you must first run "/usr/X11R6/bin/startxwin.sh" to start and X11 session.
Here is a patch gtkwave.patch written by Eric to correct compile errors in cygwin.
2025/02/03  Updated to unified Makefile, changed instructions
2025/01/22  Removed VCS and verilog documentation sections
2020/02/06  Minor edits (BB)
2020/01/27  Minor edits (BB)
2019/03/12  Minor edits (BB)
2018/02/16, 16:30  Minor updates, moved link to Pitfall page to top level page
2017/01/24, 16:00  Updates to page intro
2007/01/31, 23:45  Updated paths from /net/pizza/3/... to /net/pizza/8/...
2005/02/11         Installation process added (from Eric Work)
2005/02/02         First pass
2005/01/25, 12:45  Added "ssh" login info
2005/01/24, 15:45  Added "setenv CDS_*" to environment additions list
2005/01/21, 11:10  Filled out list of linux ECE machines
2005/01/20, 20:30  A number of updates including abc.v and tbench.sv
2005/01/20, 14:00  First pass
This document was written by Bevan Baas and Ryan Apperson with valuable help from Victor Yip.